
August 2016
2nd - Finished preparing rear removable panel for carbon fibre by applying six coats of release agent. Cut carbon and vacuuming materials and made vacuum bag ready for tomorrow.
3rd - Laid carbon onto mould and covered that with peel ply, perforated release film and breather fabric. Placed into the vacuum bag and turned on the pump.
Turned off the pump, adjusted breather fabric and vacuum bag and turned it back on. Did this a few times until Iwas happy that the vacuum bag was getting pulled into the corners. If the bag bridges a corner the carbon won't be compressed into the corners and the result is a poor finished product requiring a lot more post-cure work.

Mould prepared for carbon with a layer of resin already applied.

Two layers of fibre added and impregated with resin.

Peel ply and perforated release film added.
Wrapped in two layers of breather fabric. The gaffer tape is just to hold it in place whilst manhandling into the vacuum bag.

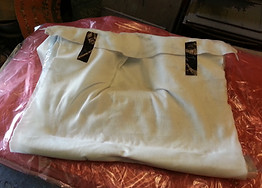
Placed in vacuum bag and sealed.

Vacuum pump turned on and materials adjusted to make sure no corners are bridged.

Fully vacuumed.
I am using a fast resin hardener so it should be ready to remove from the bag after around six hours. If you look closely, you can make out lots of dark dots. These are formed by the resin being squeezed through the perforated release film into the breather fabric. More dots means less weight however the perforated film controls the amount of resin squuezed out. Too much and the fabric becomes starved of resin making it brittle and weak.
Checked on progress after three hours and resin was hard enough to allow me to turn off the vacuum pump. I will give it another three hours before unwrapping as the resin will still be pliable and the part would be liable to warp.
4th - Removed bagging materials and released carbon fibre from mould. The finish is as I expected. It is not the glossy finish you normally see when watching YouTube videos because to achieve the glossy finish straight out of the mould you need a glossy mould (which I haven't got) and a gel coat prior to laying up the carbon (which I don't do).
Even if you do all the proper preparation post cure fettling is often still required, be it repairing pin holes, flow coating a glossy layer on or polishing. As I am painting all my carbon matt black a glossy finish isn't required.
That's my excuse, anyway, and I am sticking to it :-)


Removing vacuum bag. This peels off easily.
removing perforated release ply. This comes of easily also.

Battling with peel ply. This is usually the most difficult to remove as it sticks to the back of the mould. I must treat the back with a release agent next time.

Ready to be prised from the mould.


Released! This is the underside of the panel
And this is the front. The yellow wax forms the internal radii.
Look closely as the last photo and you will see the yellow wax used to form the internal radii. As it stands (with wax scraped off) it weighs in at 598gms. It still needs to be trimmed to size, sanded, filled and painted, but it should stay around that figure.
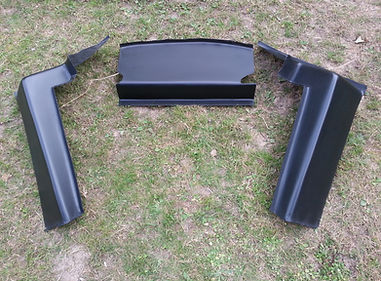
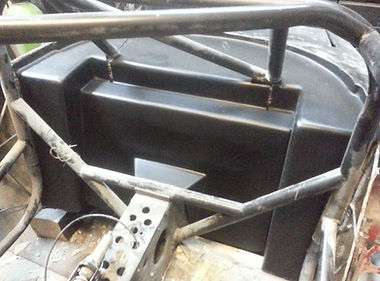
10th - Below are the top and side panels ready for first fit and all panels dry fitted to see if there any issues but they seem OK
11th - 31st - Not a lot happened as I was having to work on the house conservatory :-(
Sometimes life gets in the way of having fun :-)