Carbon Fibre
(My journey of discovery into the darkside with a steep learing curve)
I got into carbon fibre by accident.
I bought a computerised wheel alignment unit on the ceap, knowing that the software needed to be reinstalled. However, it was unavailable so I now had a useless piece of kit. I decided to sell the useful bits in order to recoup as much as possible.
I sold the wheel alignment plates to a guy in Southhampton who turned out to make carbon fibre car parts. I got to know Nick and his company, Carbon Weezel, pretty well over the coming months and he ended up making my bonnet, boot, door cards, rear shelf and dash (deign changes have meant that the dash and rear shelf are not now being used and are available to anyone interested). Go to to see what is currently on offer.
Our discussions lead, inevitably, to the possiblility of make a whole body. Nick had developed a method of using the the original item as the mould, saving a lot of time, material and money (as long as you could accept the cabon fibre item being a millimetre or so bigger than the original).
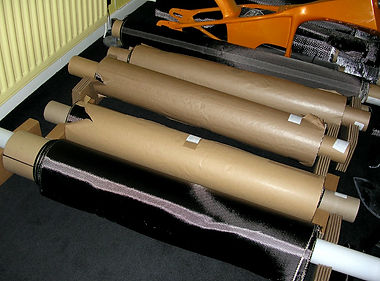
We agreed that it could be done and Nick was able to obtain a job lot some very good quality carbon at a very good price (around £10/m2 in 2009) so I bought this for £750.
A few years elapsed and Nick's situation changed to the point where he felt he could no longer make the body. I was disappointed but knew that I could sell the cabon cloth for a lot more than I paid for it, so no drama.
However, a little later I was in the process of designing the turbo air inlet hose connector and it required a bellmouth. As it was bespoke I decided to make my own out of carbon. I made a wooden mould and covered it in carbon using fibreglass resin, reasoning that as the resin was only there to hold the fibres together there can't be any real difference.


Main body is fibreglass, the cone is carbon fibre. Still requires a little TLC but getting there.

My next foray into the dark material world was when my engine builder, Geoff Page, asked if I could repair the bargeboard on an Arrows F1 car! This was on a Monday and the car was due at the Goodwood Festival of Speed on the Thursday! So no pressure. Again I used fibreglass resin and effected a pretty good repair, which both Geoff and the car's owner were happy with. I had a lot of experience working with fibreglass so just treated carbon fibre the same way and it worked.
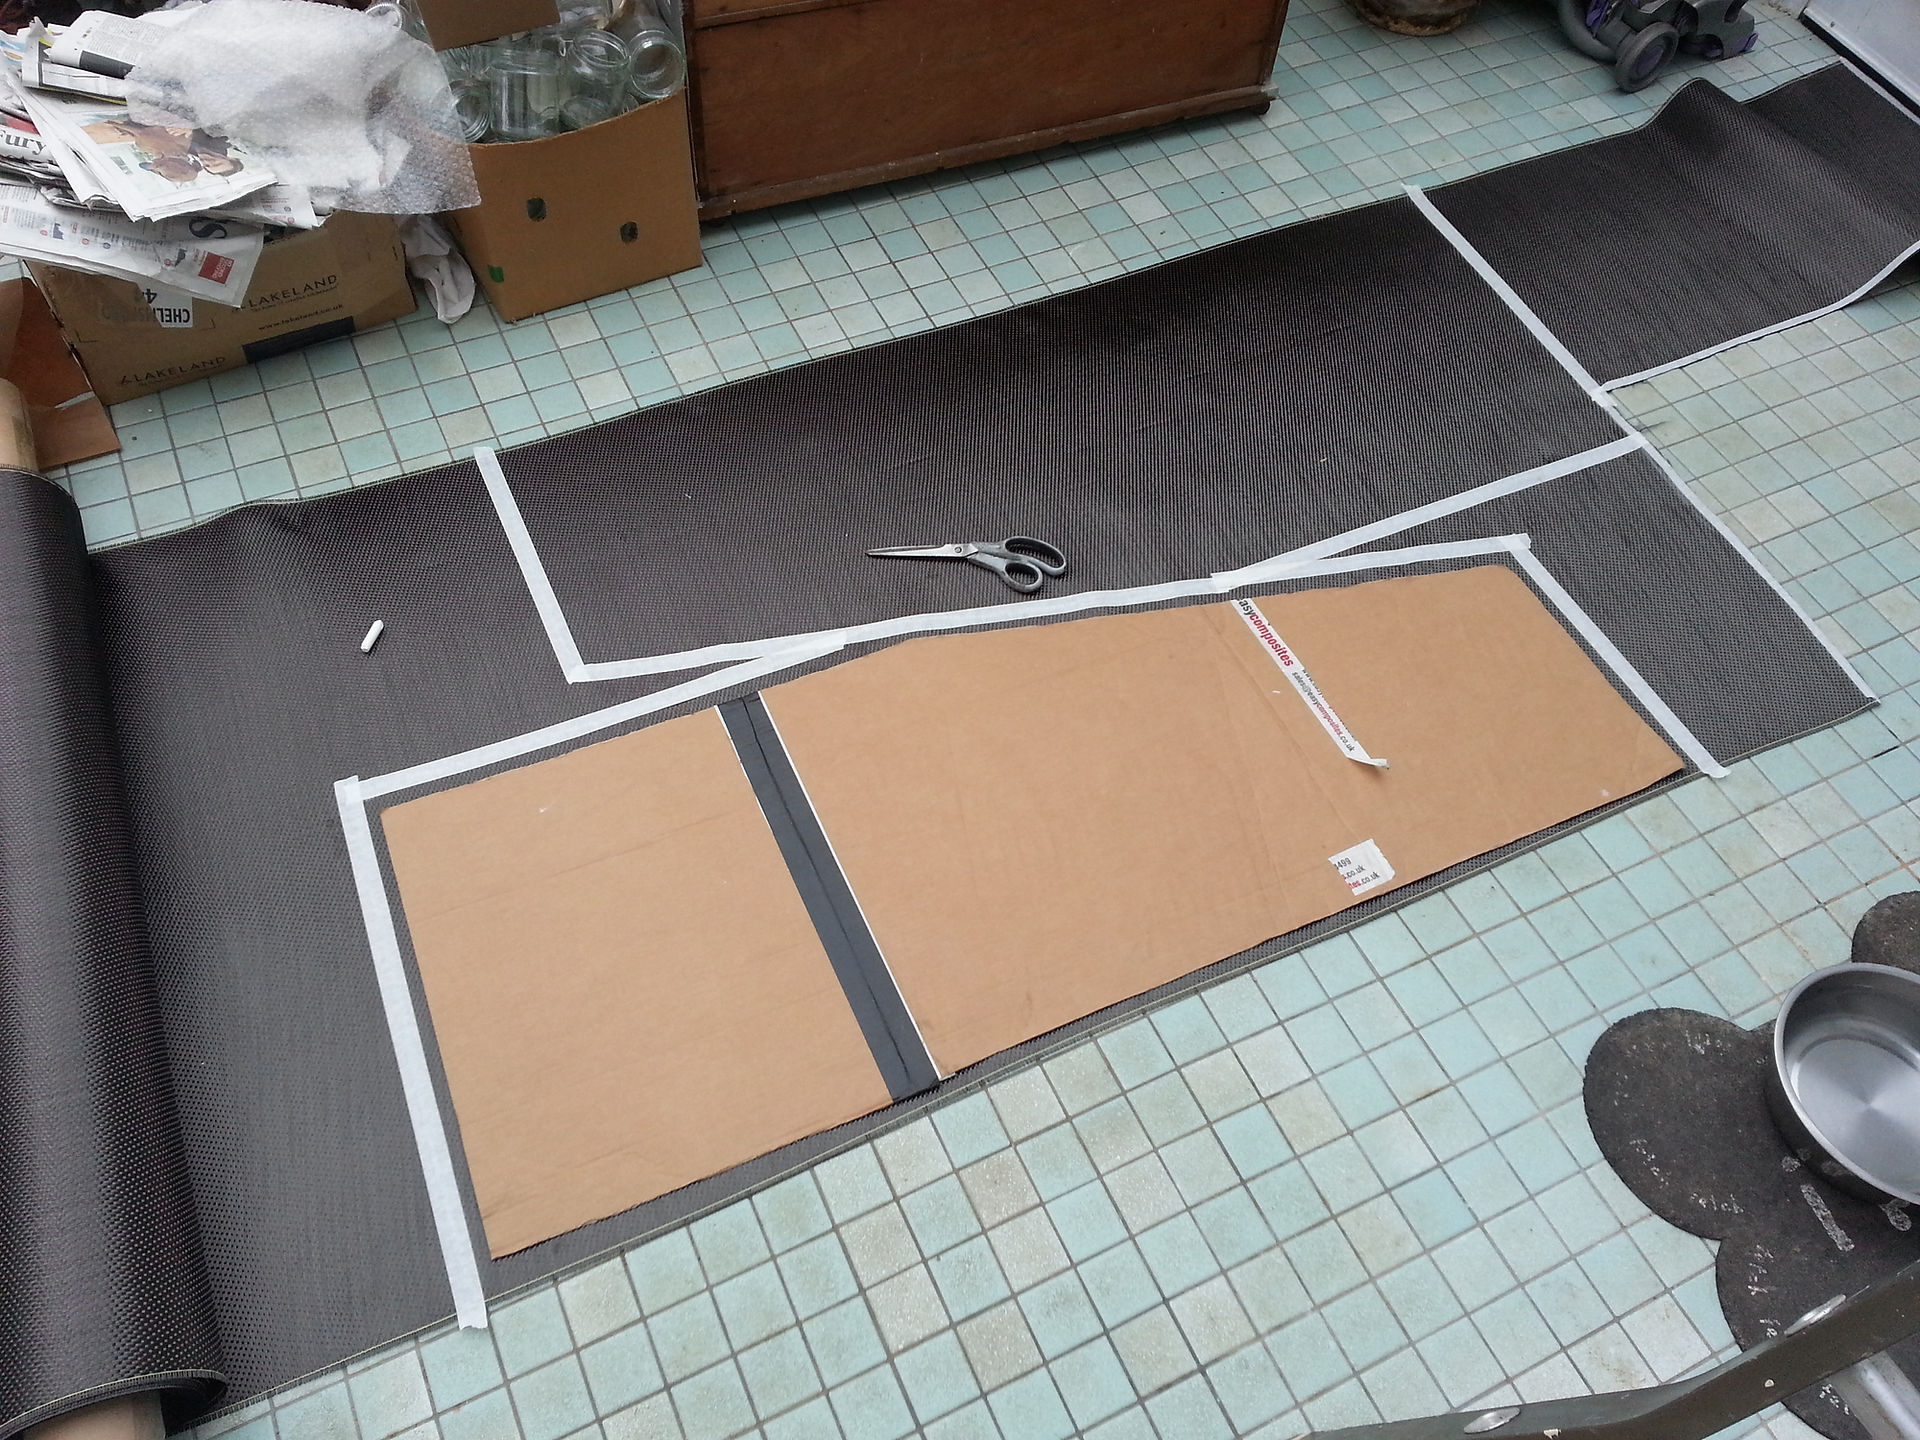
Nick took on the task of making a pair of doors for me but, for various reasons, they didn't turn out how we both hoped they would so that idea was abandoned. However the original door weighed over 6kg and the carbon fibre one just over 1kg, so there was 10kg wanting to be removed. The detailed account of how I lightened these doors is documented but it included making a new skin, using Nick's method of simply laying the fabric over the existing item. They turned out pretty well, even if I do say so myself :-)
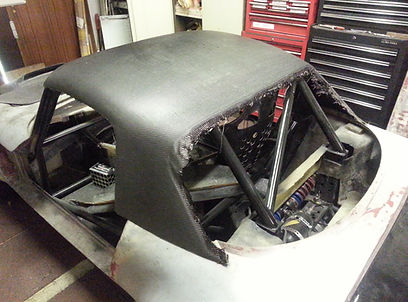
I then got ambitiojus and make a new hardtop. Making the carbon adhere to the tight corners of the glass recesses was beyond me so they will have to be made separately, but it still turned out OK, saving over 5kg. Again, this is detailed if you are interested.
Just after making the roof I investigated vacuum bagging. This had looked daunting initially but, actually, it is a long winded but basically simple process, just requires a lot of consumables and patience. Initial set up costs are a little expensive, due mainly to the purchace of a decent vacuum pump. You can use a domestic or workshop vacuum cleaner, or even an air compressor with suitable adaptors, but a dedicated vacuum pump is in the long run easier and more efficient as it achieves up to a 99.995% vacuum.
After making a few simple things, like the flat rear lamp panel and realising the increase in strength and reduction in weight over un-vacuumed items was not insignificant, I was a committed convert.
I have now made the and


I have made a seat using only two layers of carbon. Looks OK and is very light (760gms) but too flimsy. I will probably use it as the passenger seat as it can be permanently secured. The next attempt will be using four layers and a foam core.
Whilst making all this good stuff, I kept casting envyous eyes at Prepreg carbon. This is carbon already infused with resin but needs an autoclave (which applies both heat and pressure) to cure it. However, I discovered that there was a special kind of prepreg carbon called 'Out of Autoclave' prepreg. This carbon just requires temperatures of around 100 deg C and vacuum but has to be kept frozen when not being used.
I already had a suitable oven I had bought for powder coating (a second hand domestic oven, nothing exotic) and we were about to throw out our old chest freezer so that was commandered for a new use. So I just needed the cloth. This bit hurt a tad, as prepreg isn't cheap at around £80-90/m2 whereas normal cloth is around £30-40/m2. Fortunately, the oven size dictates the size of items I can make, keeping costs managable.
Right, what to make? I had been thinking about getting the air out from unter the wheel arches. To that end I had designed and had made an aluminium mould that I had planned to use with standard carbon. I decided to try out the prepreg material so, after a chat with the helpful guys ant Easy Composites I bought a m2 of their prepreg designed for a good surface finish, I bought some cheaper prepreg from eBay to use as the stiffening layer.
The trickiest bit was getting the carbon into the corners of the mould. It took me four attempts to work out the best way to cut and lay up the carbon. Even then a little fettling was required to get the finish I wanted. I am not interested in the weave showing so this was no big deal, but I am getting better at it.

After various tries this worked out to the best way to apply the carbon.
Checking to make sure vacuum pulls bag and breather fabric into the corners of the mould, prior to adding carbon.

Finished vent. A few coats of primer and matt black hid small imperfections.