Wheelie Bar
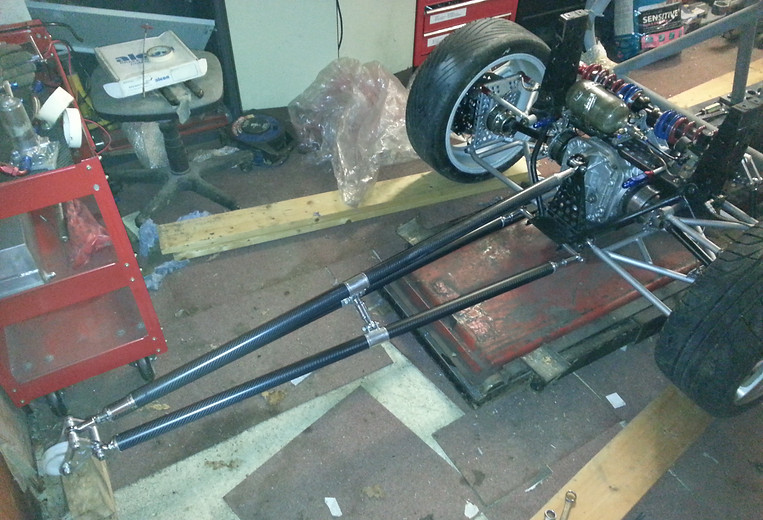
I don't know whether I will need one, but thought it prudent to be prepared. To that end I looked into how to fit a wheelie bar to a plastic car. As I only have the chassis to attach it to, the design ended up a three tube configuration. Staying true to my obsession I decided to make the bar ourt of carbon fibre tube. I settled on 40mm tube with a 2mm wall thickness. I sourced this from AliExpress, a sort of Chineese Amazon :-). I have bought quite a few items from them and have no complaints and prices are very good.
I used the design I already had for the damper fulcrums for the wheel hub assembly. In order to have plenty of adjustment I fitted rod ends everywhere. This is where enthusiasm triumphed over basic geometry. As can be seen in the video below, I forgot the basic rule that a three sided object is inherently rigid but a four sided one isn't. Removal of the two bottom rod ends solved the problem.


Tube ends finished.

Tapping a rod end thread. So much easier in a lathe.


How I managed to do this still baffles me as geometry is one of my few strong points. Why I thought that I could use rod ends on all for corners beggers belief.
Design cockup resolved


Tube locator/stiffener parts in the process of being fabricated. Two more U barackers to be made from U section.
Completed and fitted
Making the sleeves wasn't without its problems. main one being holding them in the lathe chuck without crushing them or having them fly out!
Two grub screws in each sleeve to locate and secure on to tubes.


Locating brackets were next on the list. Top bracket was relatively easy.


Top tube support bracket
Bottom one was a little more involved.


Additional support brackets added to help resist bending moments.